Overview of the project#
During a one-month school project, I had to build a food dispenser for pets, and this is what I created:
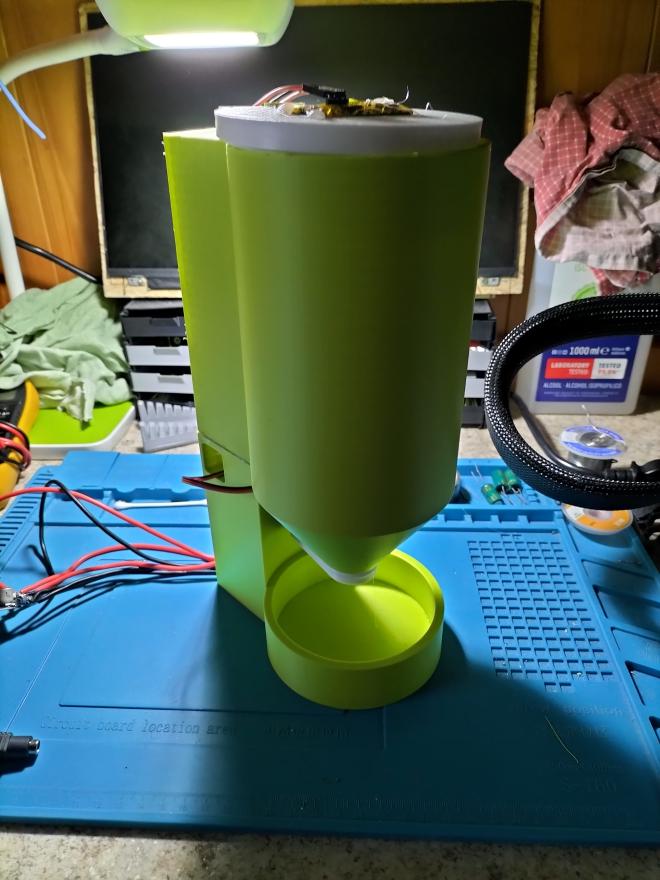
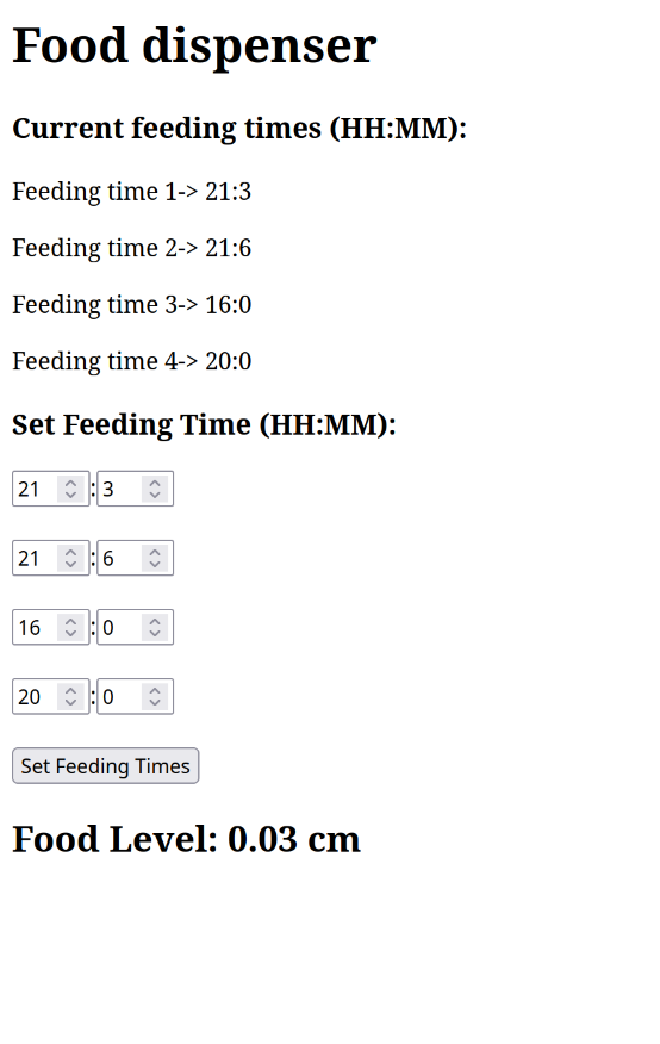
The food dispenser retrieves the date and time from the internet. You can connect to the IP address of the ESP32 to view the food level and set the time for dispensing food.
Components#
The components used in this project are:
- Ultrasonic sensor
- 9g servo motor
- Step-down converter (12V to 5V)
- 12V power supply
- ESP32 dev module
- 100µF capacitor
- M3 30mm screws
3D Printing the Parts#
You can find the files for 3D printing by following this link: https://www.printables.com/model/1045926-food-dispenser. The total printing time is about 15 hours on my Creality Ender 3v3 SE.
How to build it#
testing the power supply#
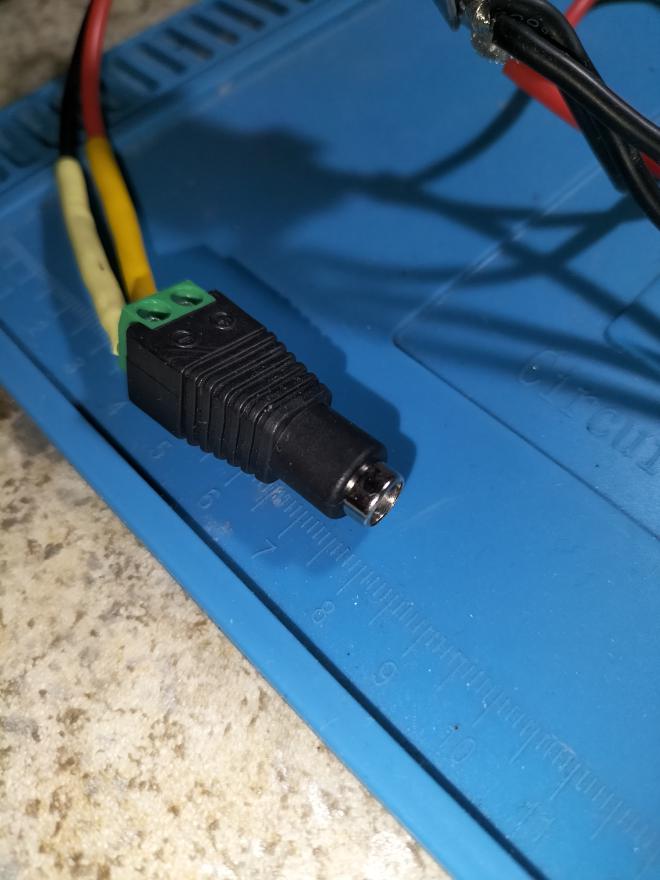
Once you have the 12V power supply, connect one end to the power source and the other to a multimeter. If you have a trimmer, adjust it to scale the voltage down to 5V.
Testing the component#
Before assembling the dispenser, I recommend testing all the components on a breadboard to ensure everything works correctly
Assemble the component#
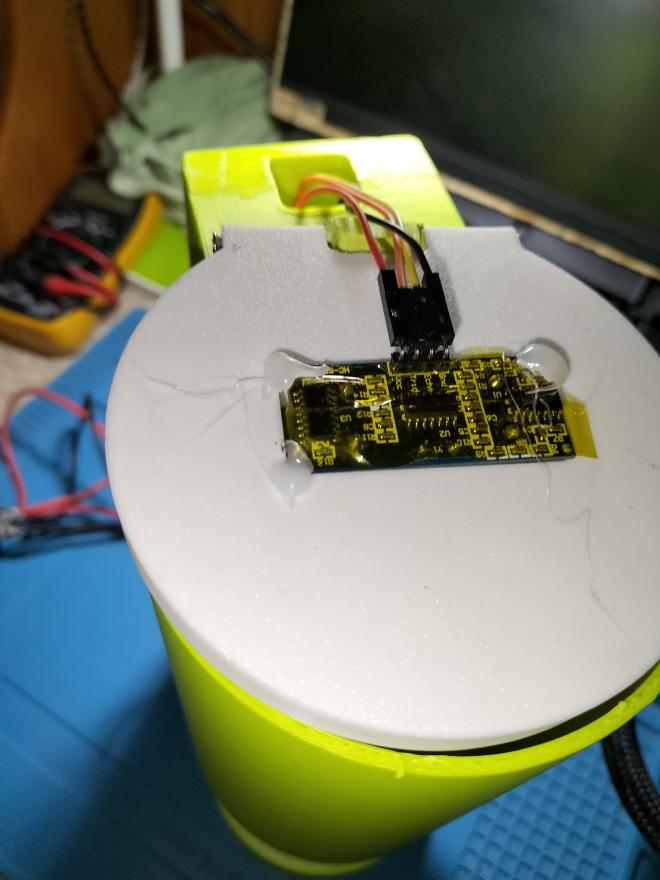
- Insert the ultrasonic sensor at the top of the printed case and secure it with hot glue.
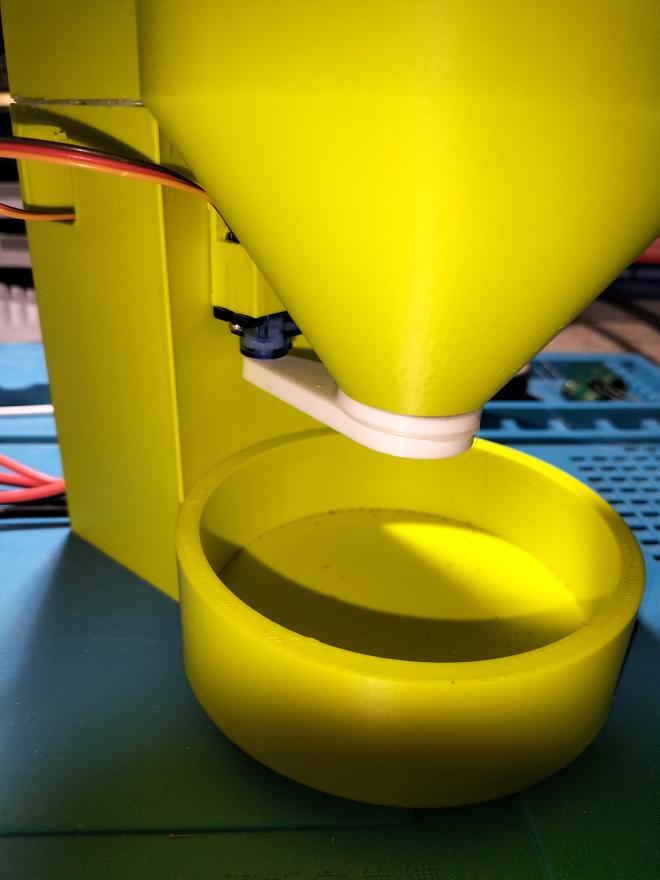
- Place the servo motor near the funnel and screw it in place.
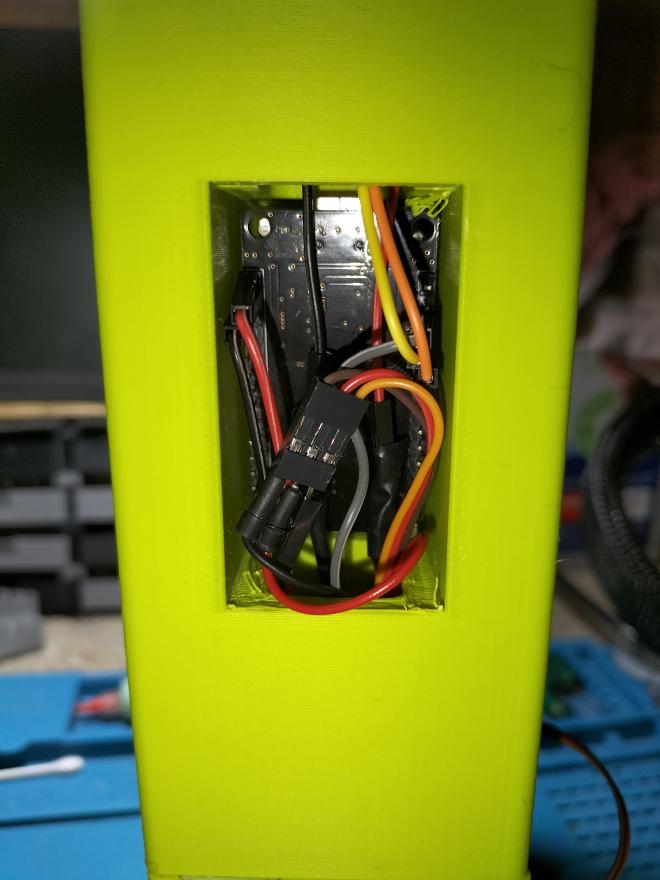
- Insert the ESP32 on the side of the case and secure it with M3 30mm screws and nuts.
Connect the wire#
- The orange wire of the servo motor should be connected to GPIO 15.
- The echo pin of the ultrasonic sensor should be connected to GPIO 2, and the trig pin to GPIO 4.
- Connect the VCC and GND of the sensor to the ESP32 (VCC goes to the Vin pin of the ESP32 and GND to ground).
Insert your WiFi credential into the code#
Upload the code to the esp32, you can find the code here: https://github.com/pianoforte33/food-dispenser .
const char* ssid = "";
const char* password = "";
Insert your SSID and password between the quotation marks.
When you connect to the esp32, you should see this.
Conclusion#
This was a fun project! If I had more time, I would have added additional components like a screen and created an even better version. Maybe in the future, I’ll add these extra functionalities.