Credits#
This is my experience in building this power supply: https://www.instructables.com/ATX-Bench-Power-Supply/
Buying the material#
For the power supply, I used one from an old Acer computer that I had replaced with a newer model. I bought the remaining components on AliExpress to save money. In total, I spent €70, but I bought more components than necessary to use them in future projects.
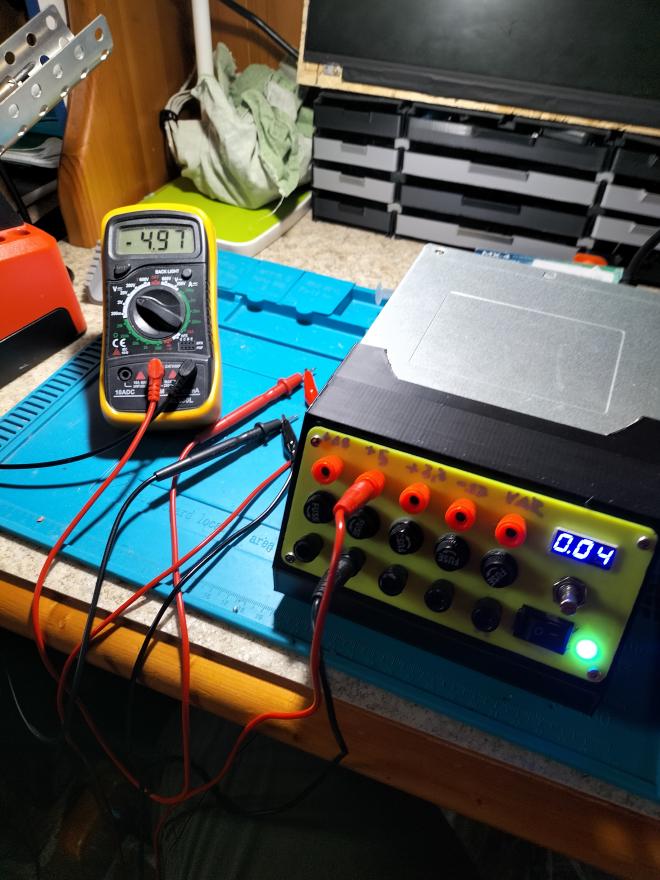
While building the power supply, I decided to install an LED to indicate when the PSU is powered on. If you’d like to add this feature too, include one LED and a 220K Ohm resistor in your materials. Also, probably because my power supply was faulty, I didn’t need to buy a resistor to connect to the 5V line to prevent it from shutting off automatically
Printing the file#
My power supply had vents on the underside for cooling, so I designed and printed four feet , which I attached using double-sided tape but you can also use hot glue.
The front panel was easy to print, but the rest of the body required a lot of support in any print orientation. A good idea would be to lengthen the body to fit the cables better
Assembling the front panel#
I had to enlarge some holes because they were too small, but if you have a drill and a file, it’s not a big problem. To fit the LED, you’ll need to drill another hole; I decided to place it next to the power switch.
Adding the led#
Conclusion#